Daily new videos will be uploaded to this page. Some will explain the NEW ProLight Series lighting systems and some will be geared toward installation. Let us know what you want to see & we will get on it!
The pages further down in this tab give detail explanation. They can be found by going back to the NEW ProLight Series TAB, or clicking here:
NEW Hinged Control Center Cabinet Enables Easy, Clean Installation
The new expandable custom made Control Center for the ProLight III allows for diagnostics & board management on the front and built in wire guides for better wire management and ease of wiring in rear. Two sizes are available. One that maxes out with the complete system, and the other that hold up to four driver boards with all the other system boards maxed out for the system, switches, motion and daylight harvesting.
Connecting Cabling at the Control Center for the ProLight III
The NEW ProLight III Lighting & Control System features back loading cabling leaving the front of the system open for board placing & diagnostics. This efficient design is possible with our custom made enclosure that we call the Control Center that is hinged for ease in installation.
We had to split the video in two. Let us know if you have any questions!
Installing Daughter Boards on the ProLight III
The ProLight III lighting system ships with all mother boards installed. Once all the cables have been attached it is time to install all the daughter boards on the system. This video walks through that process.
Terminating Light Fixture Zip Cords
The ProLight Series is different than our Original Lighting & Control System in several ways, but one very distinct is that PMMI Lighting light fixtures are now daisy chained using 18 AWG Zip Cord if your runs are 200′ or less and 16AWG if your run is in excess of 200′ but less than 750′. They are terminated using Wago Pico Max Connectors at the ProLight Series Control Center to plug into the Driver Board.
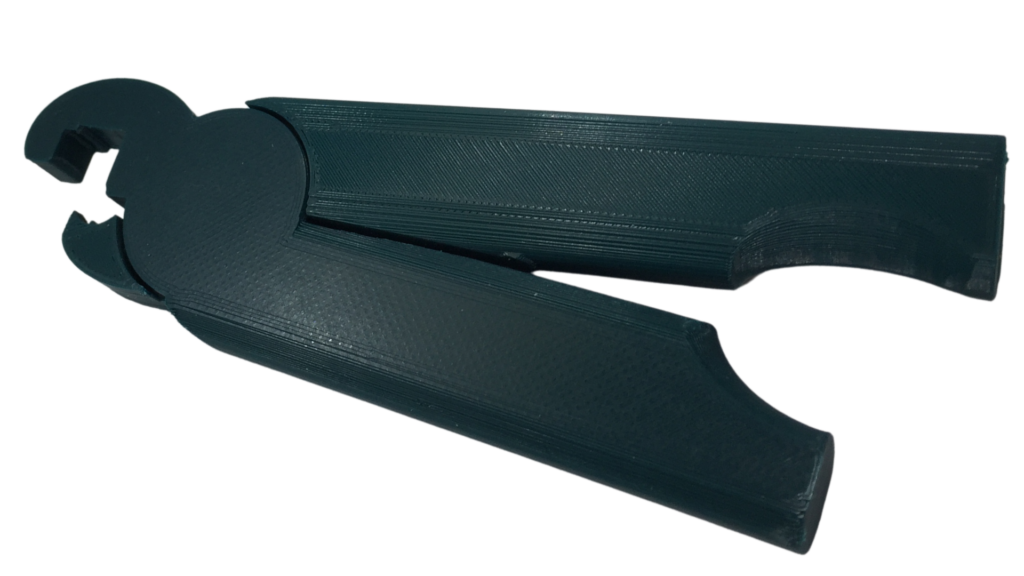
We’ve simplified this process by providing our Rapid-Connect tool.
How Much Wire Should be left at the Control Center?
When running wire, make sure to leave five to six feet at the Control Center end. You will need to be able to open the back of the Control Center Enclosure to attach the wire into the back of the mother boards.

